Home Wall Route Setting 101
- Dovi Hirsch
- Nov 12, 2025
- 4 min read
Updated: Nov 14, 2025
Home Wall Route Setting 101: Start Your Home Training Project
Maybe you just received your Rocket Wall, or you’re hesitant to order one because you’ve never set a route or boulder problem in your life, and that's okay. We promise your climbing project is harder than getting a Rocket Wall set up! Welcome to Home Wall Route Setting 101.
We’ve made setting up the Rocket Wall structure as simple as possible. All you’ll want on hand is an impact driver, and let’s be honest, one of your climbing buddies probably has one lying around that you can borrow. You’ll also get an easy-to-follow instruction manual and a setup video to guide you through every step. We promise it’s about as easy as putting together IKEA furniture (and way more fun).
As for route setting, wipe off the sweat and get ready! Although this does take some trial and error to find the right flow, getting the hang of it is fun, rewarding, and totally worth it. Here’s a quick guide to help you get the best setup on your Rocket Wall.
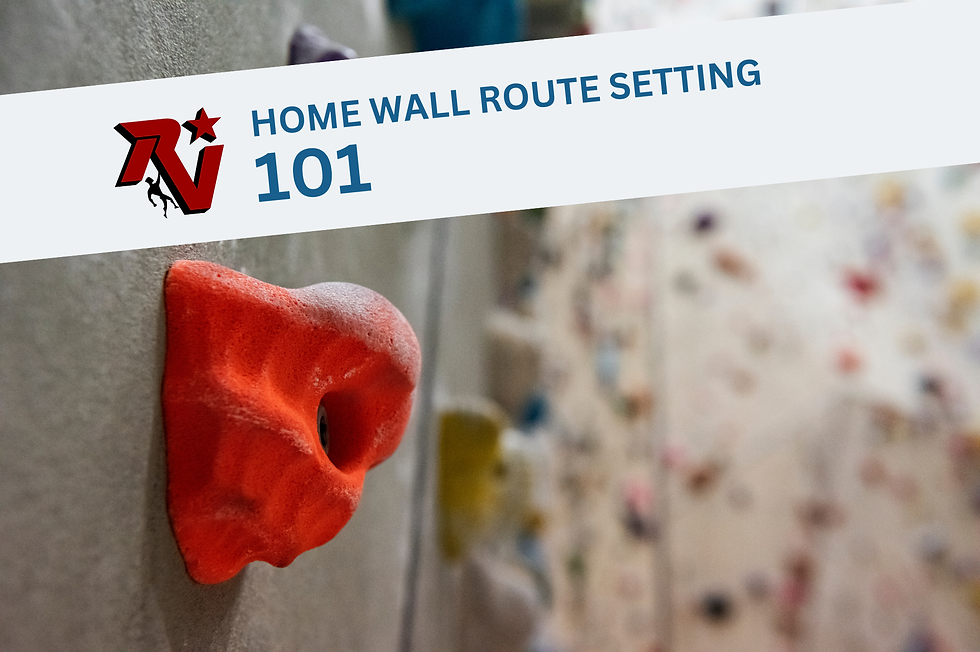
Types of Holds
“Types” is a broad category when it comes to holds, but the golden rule is: variety is key. You’ll want jugs, pinches, crimps, pockets, slopers, and a variety of foot holds so you can train different types of grips and movement styles. The more variety you have, the more options you’ll have when it comes to training for different projects.
With a wall that is overhung like the Rocket Wall, chances are you will use a few more positive holds and smaller footholds…but not all micro-footholds. Adding volumes can also add dimension and mimic outdoor terrain even better.
As for hold material options, there are a few options available:
Fiberglass Climbing Holds:
These are the most common holds you’ll see at climbing gyms. They’re lightweight, sturdy, and come in endless shapes, making them perfect for creative route setting.
Wood Climbing Holds:
If you know us at Rockstar Volumes, you know we’re kind of pros when it comes to wood. It’s what we use to build our Rocket Walls, hangboards, and training gear. One of the benefits of wood holds is that they can be much easier on your skin than fiberglass. However, they can feel slick, so place them wisely on your home wall. Pro tip: You can mount one of our hangboards or pinch blocks on the top of your Rocket Wall for extra versatility and space-saving training.
Stone Climbing Holds:
While stone holds tend to be the priciest option, they are, of course, the closest thing to the real thing. They will toughen up your skin and mindset, helping you transition from training to sending.
Hardware
Every Rocket Wall comes with 197 pre-installed t-nuts. These are metal anchors on the back of your wall that allow you to secure holds using 3/8” bolts, which are the standard size in the climbing industry.
This setup gives you tons of flexibility to move holds around, experiment with routes, and create endless new bouldering problems without having to drill any extra holds — unless you’re feeling creative. It’s best to order the bolts from the hold manufacturer when ordering your climbing holds, plus it will save you a trip to the hardware store.
Your Type of Training
Before you start throwing holds on the wall, think about what kind of training you want. Are you setting up routes like you see in the gym, or building a spray wall with tons of variety? Or maybe it’s a little bit of both. Start small and build up from there. You don’t need to cover the entire wall with holds right away. Try setting a few fun moves or a short training circuit to get a feel for the angle and flow, then adjust from there.
If you are building a spray wall, spread your holds evenly to give yourself room for different movement patterns. Think about your warm-up: set jugs in a circular pattern to gradually work your muscles and tendons while building endurance. Mix in different styles and difficulty levels so you can have easy training days and full-send sessions. It also makes your wall more inclusive for your friends who might climb at different grades or styles.
And remember, if something feels bland or too hard, you can always add more feet, flip holds, or change the angle slightly. Small tweaks can give you a completely new climb!
Featured Climbing Training Gear

Maverick: The on-the-go, bring it anywhere hangboard. On a family road trip to keep your fingers in shape. We like to bring this to the crag with us to keep our fingers warm—without losing skin on mediocre warm-ups—at that steep, thuggy sport crag.

Pinch Blocks: Don't let pinch strength stop you from sending! Use it while hanging, lifting, and even for one arm hangs; featuring various widths for pinching, a 20 mm edge, and a jug.

The Rock-Stah: Our handcrafted version of a traditional hangboard, with curving crimp rails to help alleviate unnecessary strain on your pulleys. Because ain’t no one got time for a finger injury…

The Rocket Wall: Available in 6’ and 8’ widths, it’s been tough for us to keep up with the demand for this innovative home climbing wall solution. Slightly overhanging, the Rocket Wall is big enough to set routes on, or to build a systems board.


Comments